Installing Claude Code & Your First Login
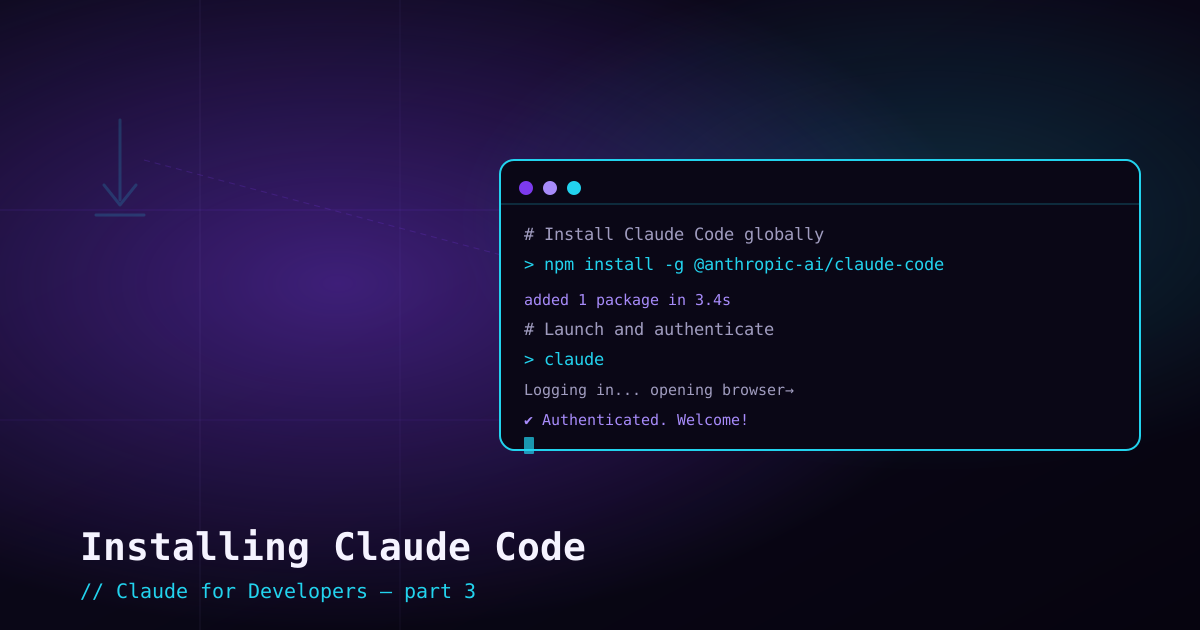
Installing Claude Code is three steps: install the program, sign in, and run it. Pick the command for your operating system, paste it, and follow along. The whole thing takes a few minutes.
Step 1 — Install Claude Code#
The recommended way is the native installer, which sets up Claude Code and keeps it updated automatically. Pick the line for your platform:
curl -fsSL https://claude.ai/install.sh | bashirm https://claude.ai/install.ps1 | iexPrefer a package manager?#
If you already live in Homebrew, WinGet, or npm, those work too. Note that package-manager installs do not auto-update by default — you upgrade them yourself.
# macOS / Linux — Homebrew
brew install --cask claude-code

# Windows — WinGet
winget install Anthropic.ClaudeCode

# Any platform — npm (requires Node.js 18+)
npm install -g @anthropic-ai/claude-code
The npm route is the one that needs Node.js (the prerequisite from post 2). The native installer and the OS package managers do not require Node at all.
Step 2 — Verify the install#
Confirm it landed. In a new terminal:
claude --versionYou should see a version number. If you instead get "command not found," close and reopen your terminal (so it picks up the updated PATH) and try once more. For a deeper health check that tests config, auth, and network, run:
claude doctorStep 3 — Log in#
Authentication happens the first time you launch Claude Code. Move into any project folder and start it:
cd path/to/your/project
claude
On first launch, Claude Code opens your browser to sign in. Approve the login, the browser hands the credentials back to the terminal, and you are in. Your login is saved, so you only do this once.
Which account do I need?#
You need one of these — the browser flow above covers the first two:
- A Claude subscription (Pro, Max, Team, or Enterprise) — sign in through the browser. Simplest for individuals.
- A Claude Console account (usage-based API billing) — also a browser sign-in; a "Claude Code" workspace is created for cost tracking.
- An API key, if you prefer to set one explicitly (see below).
Using an API key instead#
If you would rather authenticate with an API key (common in teams and CI), set it as an environment variable before launching. Claude Code asks once to approve it, then remembers your choice:
export ANTHROPIC_API_KEY=sk-ant-your-key-here
claudeStep 4 — Your first run#
With Claude Code running inside your project, you will see a prompt showing the version, the current model, and your working directory — then a place to type. Two things to try immediately.
First, list what is available with the help command:
/helpThen ask it something real about the project you are in — no special syntax, just plain English. Claude Code reads the files it needs on its own:
what does this project do?It will search your files and answer. That is the core loop you will use constantly — and exactly how the agent works under the hood is the subject of the next post. A few more useful commands to know now:
/status— see your current auth method and model/login//logout— switch accounts or sign out/help— list every command and skillCtrl+Cto interrupt,Ctrl+D(or/exit) to quit
Troubleshooting quick hits#
- `command not found` after install — reopen your terminal so it reloads PATH; then re-run
claude --version. - `irm is not recognized` (Windows) — you are in CMD; switch to PowerShell.
- Browser never opens at login — press
cto copy the URL and paste the code back. - "No access" despite logging in — you are likely on a free account; Claude Code needs a paid subscription or Console access.
- Anything else — run
claude doctorfor a guided health check.
What’s next#
Claude Code is installed, signed in, and answering questions. Next we slow down and look at what Claude Code actually is and how it works on the CLI — the agentic loop, the context window, and how to steer it — so you understand what is happening when you ask it to do real work.