Capstone: Build a Project End-to-End with Claude Code
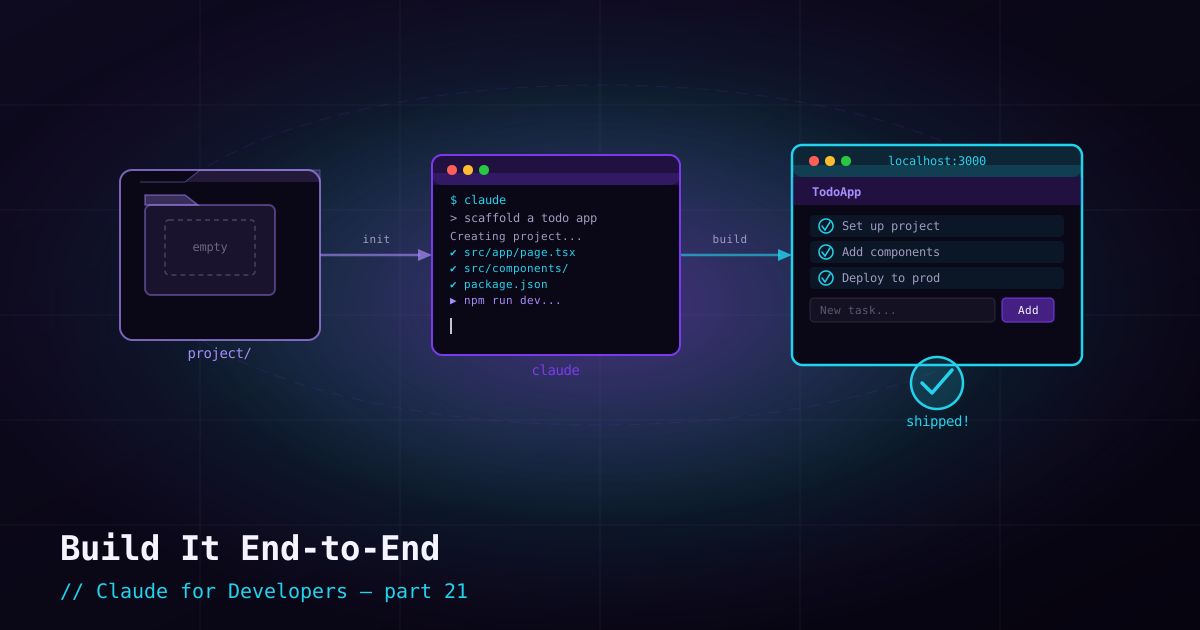
You have learned the pieces — installation, the agentic loop, permissions, memory, skills, subagents, MCP, hooks, plugins, and the Git workflow. This post is the assembly: a realistic, end-to-end flow that takes you from an empty directory to a working, committed application, using the features where they naturally fit. Adapt the project idea to whatever you like; the *process* is the lesson.
Step 1 — Set the stage#
Create the folder, initialize Git (your safety net from day one), and start Claude Code inside it:
mkdir task-tracker && cd task-tracker
git init
claude
Starting with Git initialized means every step from here is checkpointed and reversible — exactly the discipline from post 15.
Step 2 — Plan before building#
Switch to plan mode (Shift+Tab) and describe what you want. Let Claude propose an approach before it writes anything:
I want a small task-tracker web app: add tasks, mark them done, filter by
status, and persist to local storage. Use a modern, simple stack.
Propose a plan and the file structure before implementing.
Read the plan. Adjust anything you disagree with ("use TypeScript," "no framework, keep it vanilla," "put components in src/"). Approving a plan you have actually vetted is what keeps a big task from veering off early.
Step 3 — Capture conventions in memory#
Before serious coding, lock in how you want the project built so you do not repeat yourself. Generate a starting memory file and refine it:
/initThen edit CLAUDE.md (or use /memory) to add your rules — commands to run, style conventions, "write a test for each feature," "no inline styles." From now on Claude follows these automatically every session (posts 6–7).
Step 4 — Build iteratively, committing as you go#
Implement in small, reviewable slices rather than one giant request. After each slice, review and commit:
- "Implement the core task model and the add-task feature."
- Review with
git diff, run it, then: "commit this with a clear message." - "Now add marking tasks done and persisting to local storage."
- Review, test, commit. Repeat for filtering and styling.
Step 5 — Use the right helper for the job#
As the project grows, reach for the power features where they fit:
- A skill for repeated, detailed guidance — e.g. an "accessibility checklist" skill Claude loads whenever it touches UI (post 10).
- A subagent to review your changes for bugs while you keep building — parallel and isolated (post 11).
- A custom command like
/reviewfor your standard pre-commit check (post 8). - A hook to auto-run your formatter after every edit, so style is never an afterthought (post 13).
Step 6 — Verify it actually works#
Do not take "done" on faith — this is the engineer-stays-in-the-loop principle in action. Ask Claude to run the tests and the app, and confirm yourself:
run the tests and the linter, fix anything that fails, then tell me how to
start the app so I can try it myself
Then actually open it and click around. Claude is fast and capable, but you sign off on the result.
Step 7 — Ship it#
With everything green and reviewed, finish the Git flow (post 15) — and if you use the GitHub CLI, let Claude open the PR:
create a branch, push it, and open a pull request summarizing everything we builtThe pattern to take with you#
Strip away the specific app and the reusable loop is this: plan → set conventions in memory → build in small reviewed slices → commit constantly → use skills/subagents/hooks where they fit → verify yourself → ship via Git. That loop scales from a weekend project to serious production work.
You finished the series#
From "what is Claude" to building and shipping a project end-to-end — you now have the full picture: the model family, the CLI and its agentic loop, permissions, memory, skills, subagents, MCP, hooks, plugins, Git, plan mode and checkpoints, IDE and headless use, cost control, and troubleshooting. The next step is the obvious one: open a real project and put it to work.